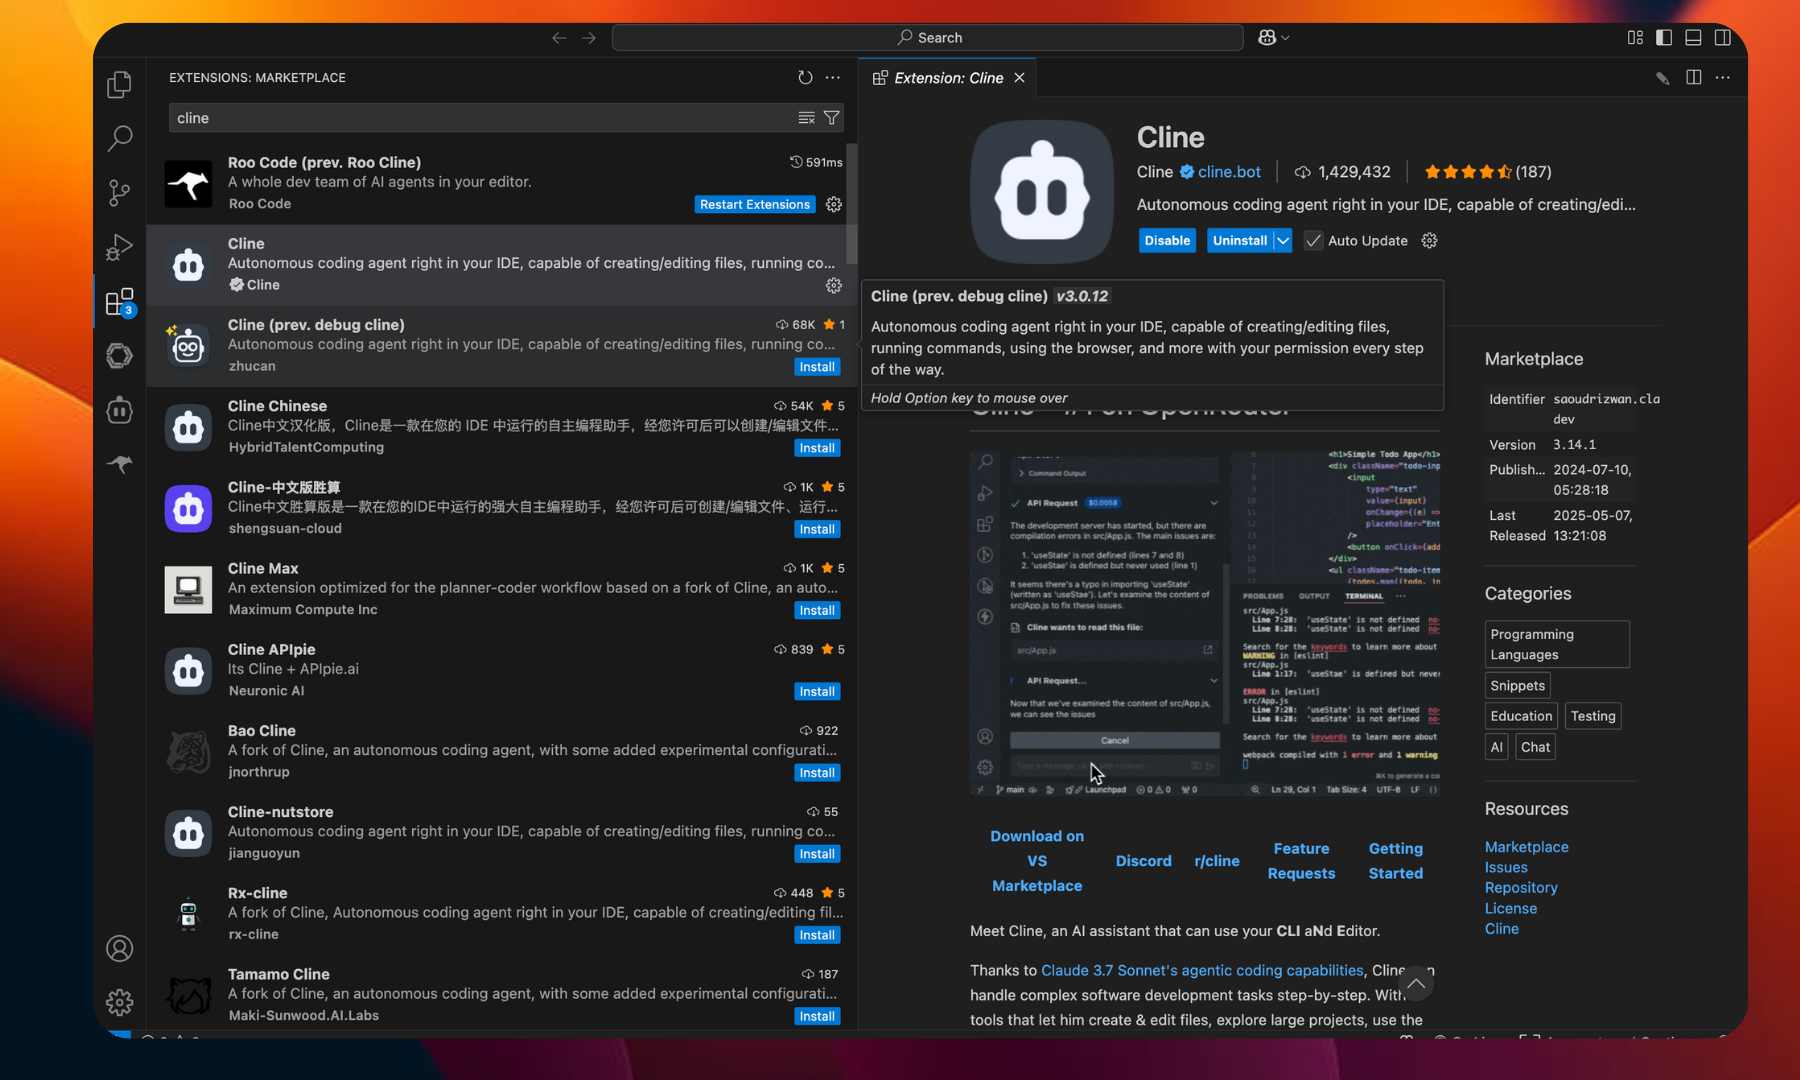
Step 1: Install Cline in Visual Studio Code
- Open VS Code.
- Go to the Extensions tab (or press Ctrl+P and type ext install cline.cline).
-
Install the extension called Cline.
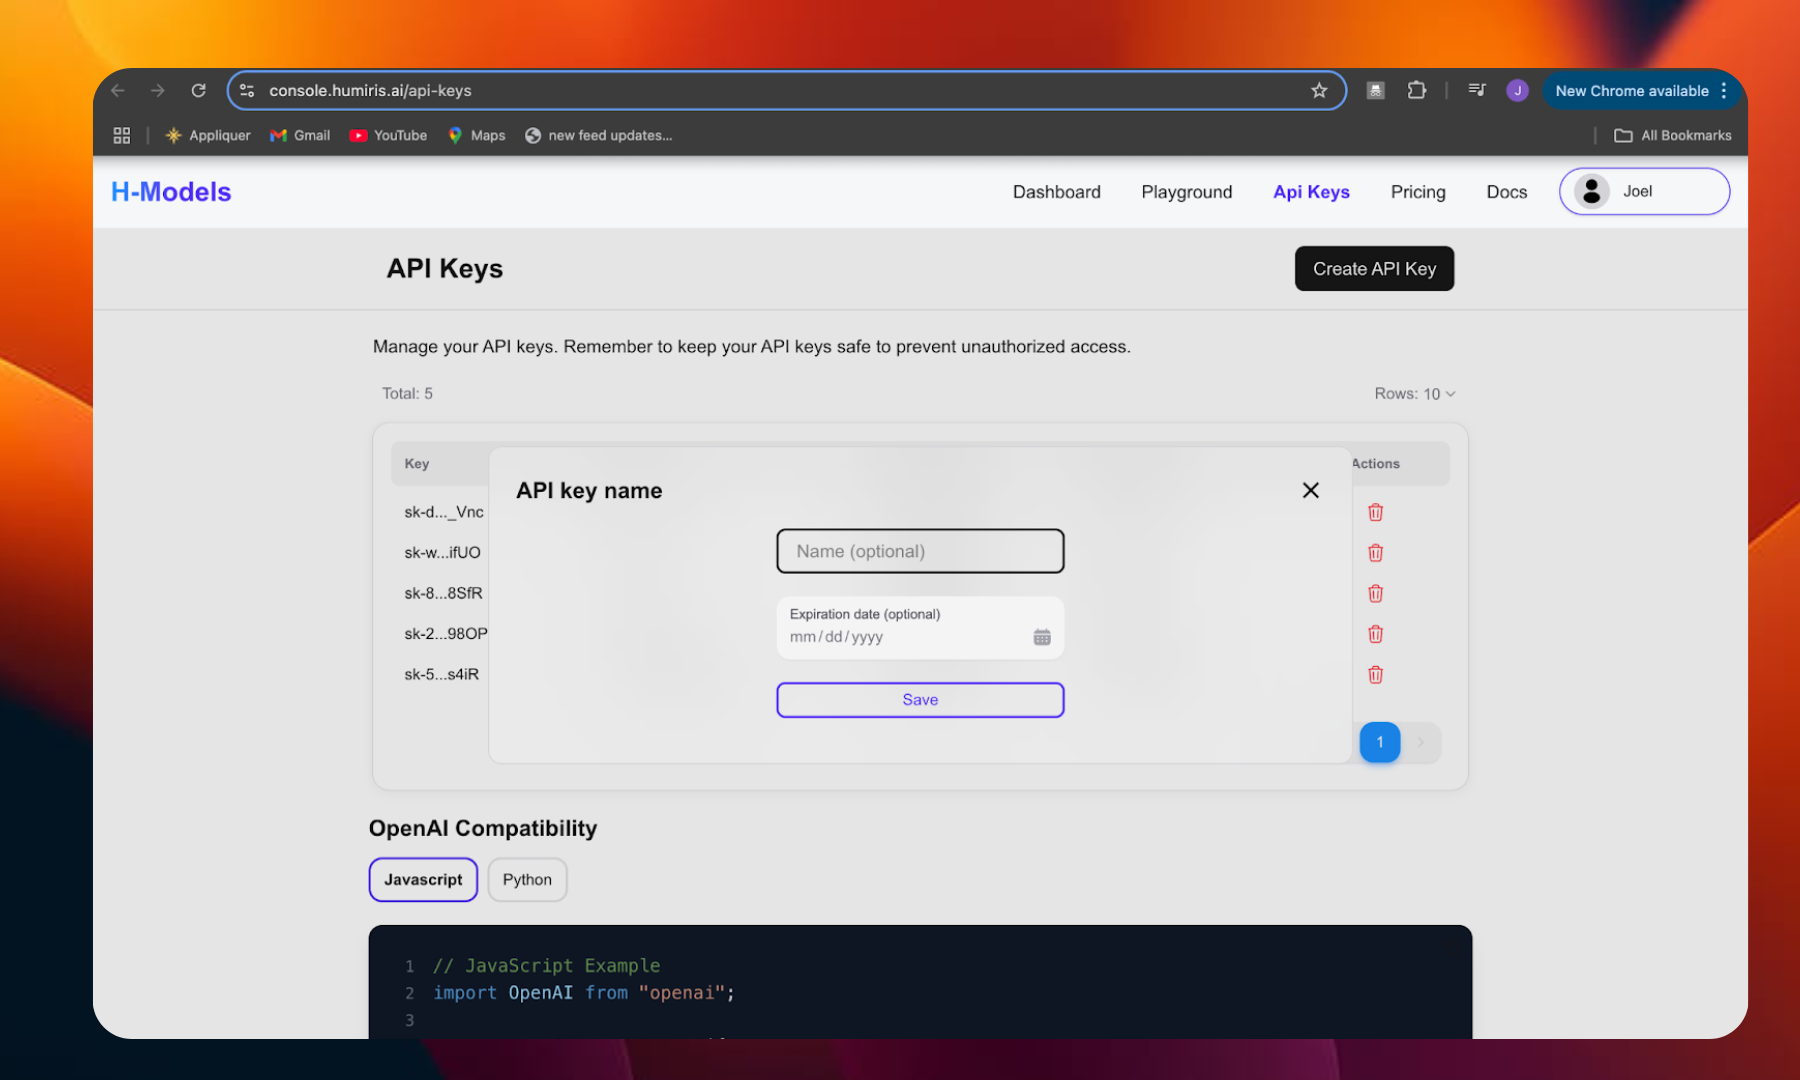
- Go to humiris.ai and create an account.
- After logging in, go to the API Keys section.
- Click “Create API Key” to generate a new key.
- Copy the key for later.
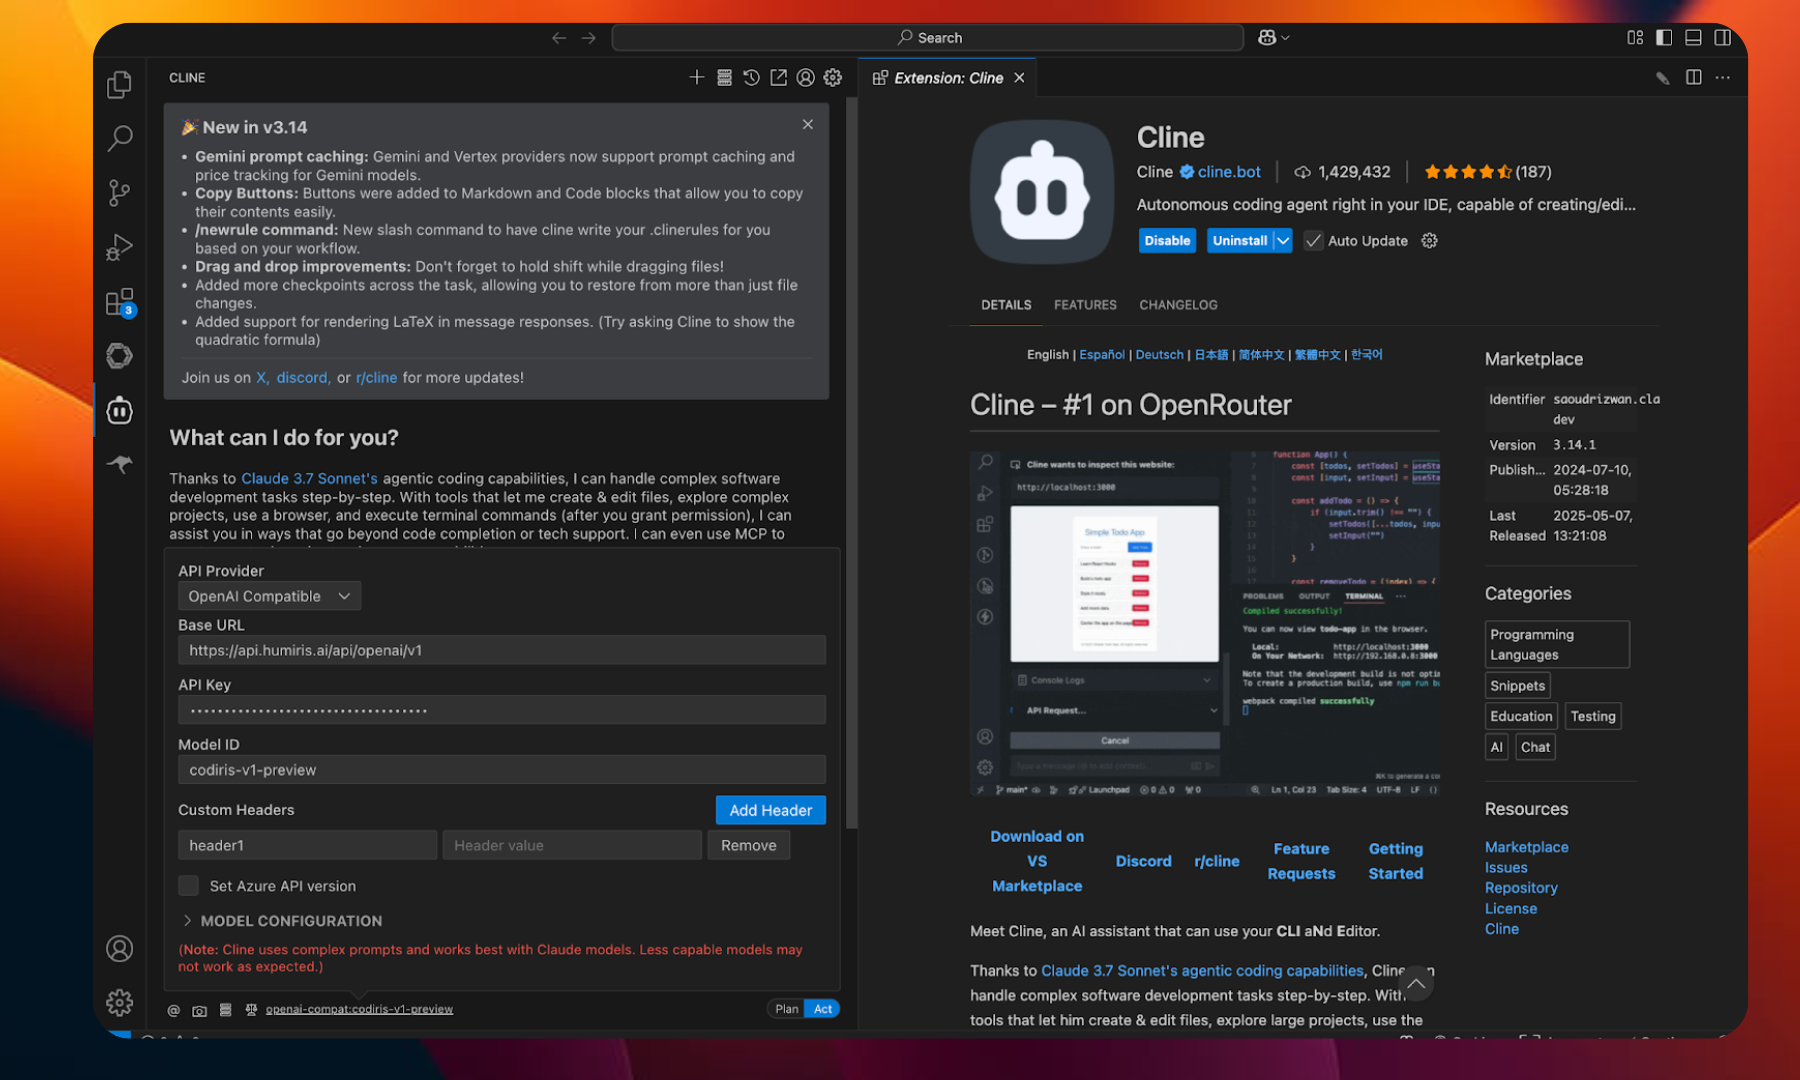
Step 3: Configure Cline with Humiris
- Inside Cline, click the Settings (⚙️) button.
- Under API Provider, select OpenAI Compatible.
- Fill out the fields as follows:
- Base URL: https://api.humiris.ai/api/openai/v1
- API Key: Paste the API key from your Humiris account.
- Model ID: Choose one of the supported Humiris models (e.g. codiris-v1-preview, codiris-v1-mini,daddy1,baby1, mommy1-adv, etc.)
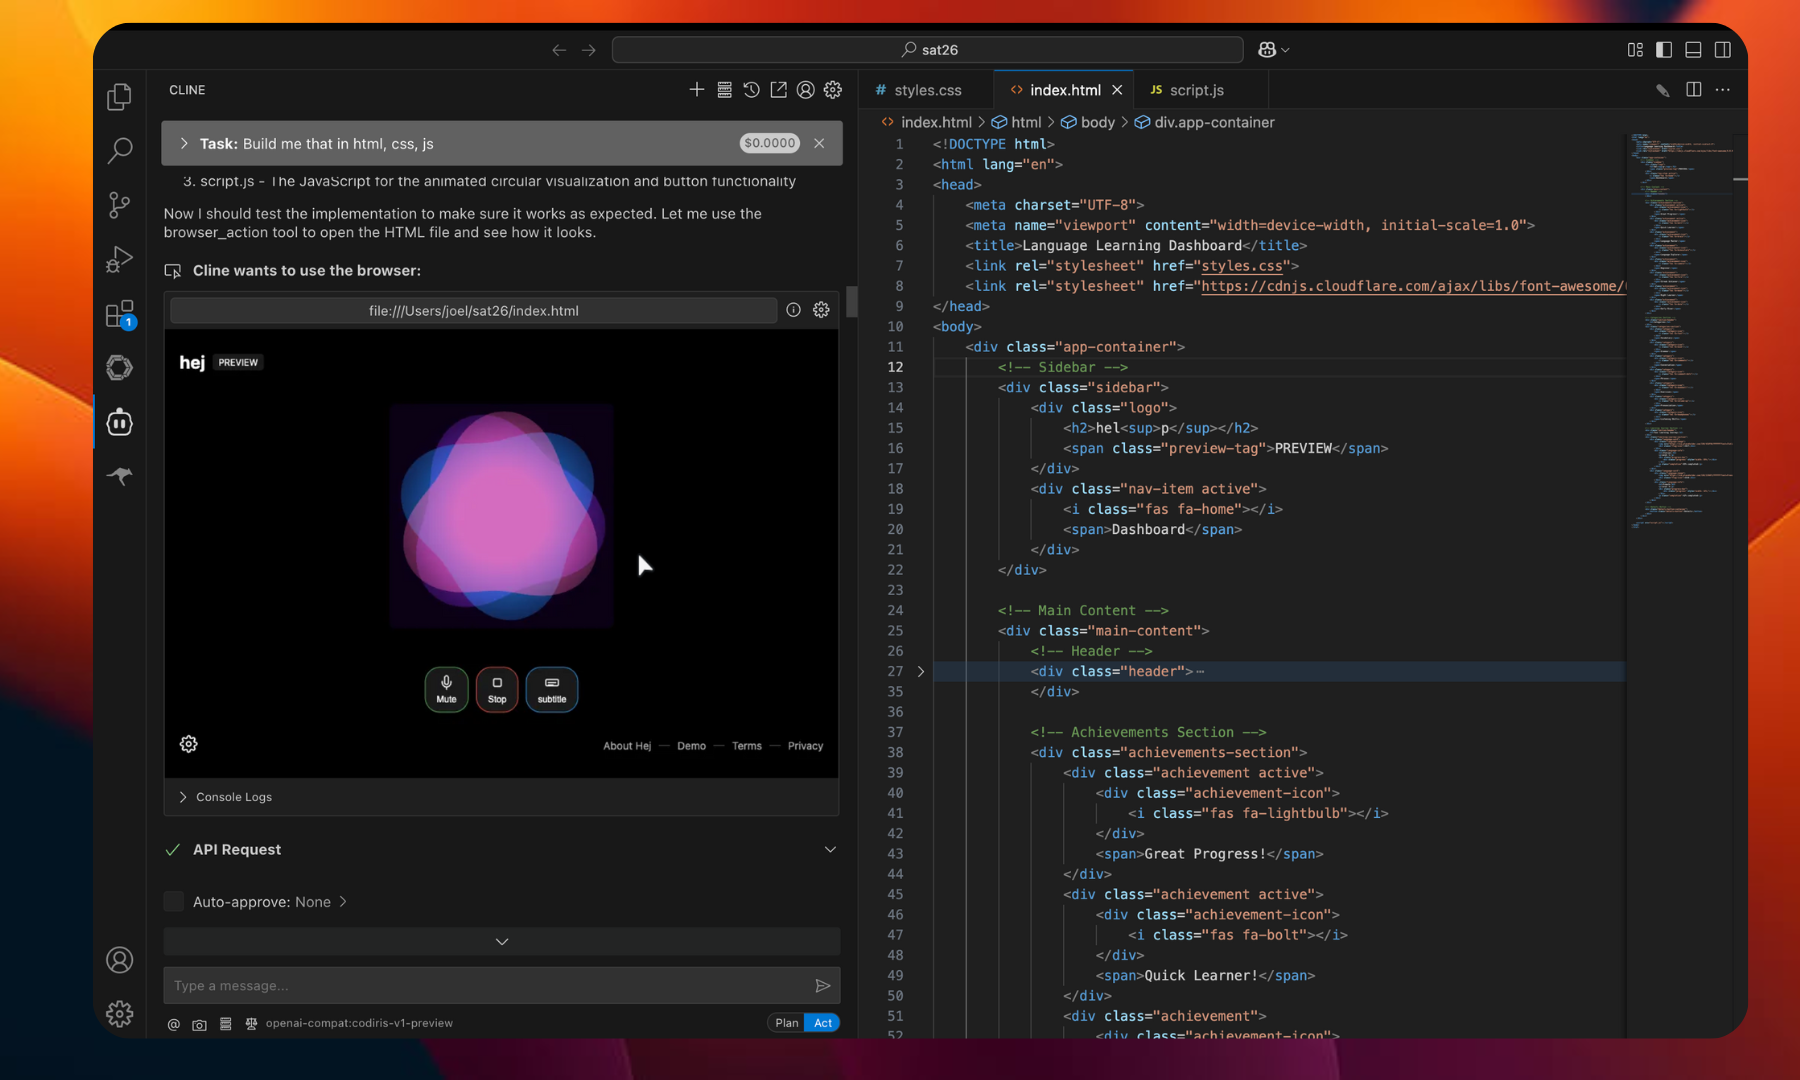
Step 4: Use Humiris Models in Cline
Once setup is complete:- You can now write prompts or coding requests directly into Cline.
- Cline will use the selected Humiris model to help with code generation, explanations, and other dev tasks.